Figure 1
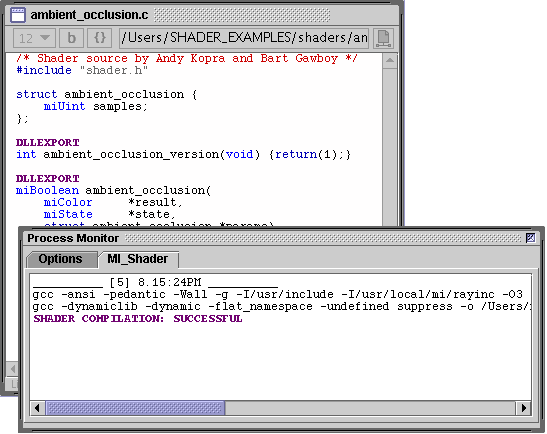
Figure 2
Cutter
|
other links |
IntroductionCutter provides a good level of integration with mental images® shader writing and rendering technologies. Cutter is able to,
Item 1 does requires access to a compiler. Linux and MacOSX computers have versions
of the GNU compilers pre-installed. Windows users, however, must install MS Visual Studio 8
or MS VC Express 2008.
|
|
|
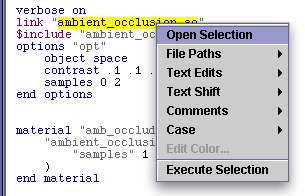
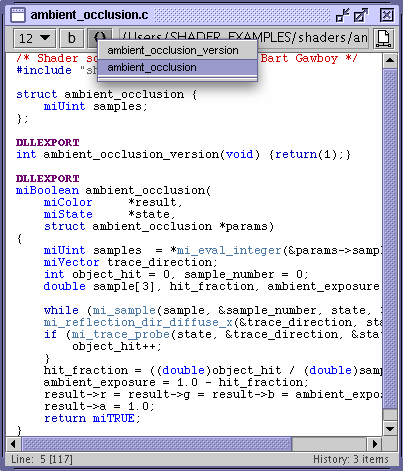
Menu's - Open Header Files & Source Code
Right mouse clicking (MacOSX control + click) within the name of a header file raises a popup
menu - figure 5. The text within the quotes or angle bracket is automatically selected
by Cutter. For example, "shader.h" (figure 6) was opened by control clicking the header file "included"
in the document seen in the background. Using the procs button displays a full listing of
the structs declared in a header file. Holding down the shift key and clicking the procs button
triggers Cutter to read all other headers in the directory.
|
|
|
Makefiles/VS8 Bat Files
When compiling a 'C' language shader source code file via Cutter it is not necessary
for a user to write and maintain their own makefiles or, on Windows, their own
Visual Studio bat files. Instead, Cutter writes and generates
a makefile/bat file each time a user builds a shader. For example, when a user builds a
shader, say foo.c, (alt + e) Cutter will, |
|
Listing 3 (Makefile.mishader_LINUX)
|
|
On Windows, Cutter generates a bat file, for use with Visual Studio 8, based on the template bat file shown in listing 4. |
|
Listing 4 (Compile_mishader.bat)
|
Templates for Makefiles
The makefile/bat file generated by Cutter is based on a template. By default there are
three operating system specific templates. Cutter searches for an appropriate template file in
the following sequence. On linux and MacOSX it first looks for a template called
custom_templates/Makefile/
If a custom template file does not exist, Cutter looks for a default template, namely,
Cutter_Help/templates/Makefile/
On Windows, Cutter follows a similiar search stategy. Initially, it looks for
custom_templates/Bat/
If this file does not exist it looks for Cutter_Help/templates/Bat/ For most setups it will not be necessary for a user to create a custom template file. However, the search stategy used by Cutter makes it possible for a user, should the need arise, to customize the compilation behavior of Cutter. If the reader is using the demo version of "ray" from Andy's book they will have to save a modified version of a makefile, or bat file, in their custom_templates directory - more about this later. |
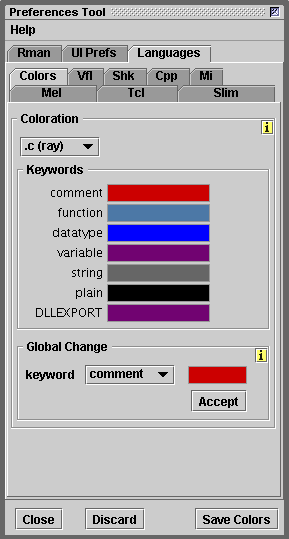
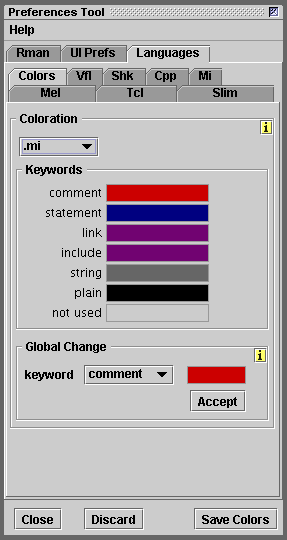
Cutter Preferences
Two preference panels deal with syntax coloration for mental ray - figures 7 and 8.
The majority of "sub" panels in Cutter have yellow info buttons. Info can
be activated by clicking on the yellow button. Using the right mouse (control + click
on MacOSX) raises a help info window. An examaple of such a window is
shown in figure 9.
|
|
|
|
|
|
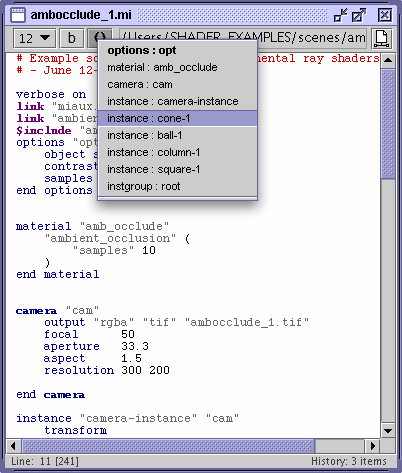
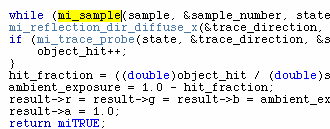
Syntax ColorationExamples of syntax coloration are shown in figures 10 and 11. The procs { } button allows easy navigation of the main elements of shader code, header and 'mi' scene files. The source files shown below were written by Andy Kopra and Bart Gawboy. |
|
|
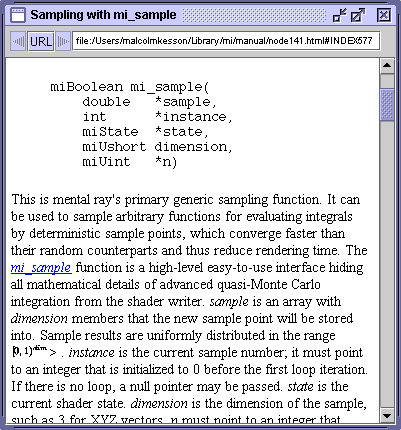
MI Help Documentation
Assuming the location of the directory in which mental image's "manual" html documentation
has been specified correctly (figure 12), users can take advantage of Cutter's ability to
quickly lookup online documentation. In the case of readers who have access to Andy Kopra's
book I recommend they copy the directory
Preferences Tool->UI Prefs->Net
Double clicking with the alt key down...
|
|
|
Demo Version of Mental RayThe following notes are intended to help those who have purchased Volume 1 or Volume 2 of the mental images® books and who wish to install the demo version of mental ray. The names choosen for the shader_src, shaders and scenes directories in step 2 must match the paths specified in an all-important mental ray document called the rayrc file - its the mental ray "preference" file. If you are using the demo version of "ray" installed from the CD included with Andy Kopra's book you should ignore this section and instead refer to Kopra - Writing mental ray Shaders. Step 1 - System Files for Linux & MacOSX
The files for the include directory (linux, MacOSX and windows) can be found on the mental images CD in, common/include |
|
Step 1 - System Files for Windows
|
|
Step 2 User Files for Linux
|
|
Step 2 User Files for MacOSX
|
|
Step 2 User Files for Windows
|
|
Step 3 The rayrc File
The rayrc documents shown below have been adapted from versions of the
same docs written by Andy Kopra and Bart Gawboy. If the rayrc doc fails
to work on your computer it is most likely due to the way
I have edited their documents.
The .rayrc file (note the leading dot) provides a series of search paths that enable
the renderer to find compiled shaders and their accompanying .mi descriptors.
The .rayrc file required by linux, MacOSX and windows are almost identical.
Please note the text has been formatted to fit the page. The text shown in blue should
be on the same line as the text that preceeds it. For example, lines 13 and 15 have been
"broken" with the "newline continuation character" ie. a backslash. It is advisable
to ensure the text on lines 13 and 14 are continuous. Likewise, with lines
15 and 16. Do not leave any spaces when you "roll together" the
(registry) lines of text.
|
|
rayrc
|
|
Step 4 Cutter Directories for Linux & MacOSX
|
|
Step 4 Cutter Directories for Windows
|
© 2002- Malcolm Kesson. All rights reserved.