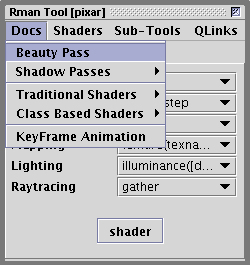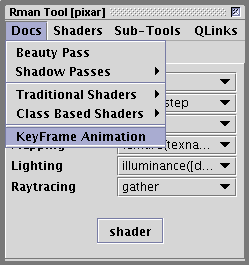
Figure 1

Figure 2
Whats New - Version 6.0.11 June 2010 |
Keyframe Animation
A beauty pass rib is typically created using the |
|
|
|
|
Although the previous version of Cutter added the ability to create a beauty pass rib
with conditional evaluation
of the Option "user" "string renderer" ["prman"]
DisplayChannel "float t"
DisplayChannel "float s"
IfBegin "$user:renderer == 'prman'"
Display "untitled" "it" "rgba"
Display "+untitled.t.tif" "it" "t"
Else
Display "untitled" "idisplay" "rgba"
IfEnd
Display "+untitled.s.tif" "tiff" "s"
it was not able to parse the Option "user" "string renderer" ["prman"]
DisplayChannel "float t"
DisplayChannel "float s"
Format 427 240 1
ShadingRate 1
Display "+untitled.s.tif" "tiff" "s"
Display "+untitled.t.tif" "it" "t"
Display "untitled" "it" "rgba"
During conversion, Cutter "callapses" the Option "user" "string renderer" ["prman"]
Other |
Python & MayaWhen a python script is executed (alt+e, control+e or apple+e) output from print statements are displayed in Cutter's Process Monitor window. However, python can also be sent to Maya via a port in exactly the same way as Cutter handles Mel. When a python script window is connected to a Maya port, Cutter now "assumes" all output should be displayed by Maya and, as such, the Process Monitor is not activated. |
Slim Array CollectionsWhen a RenderMan shader is compiled, Cutter can automatically generate an appearance slim file that will control how the parameters of a shader are displayed by Maya. Shader parameters that declare arrays, for example, surface
array_test( float Kfb = 1;
float radius[3] = {1,1,1};
point pnt[3] = {(0,0,0),(0,0,0),(0,0,0)}
)
{
// The array parameters are ignored. They are shown
// above only for illustrating how arrays are displayed
// in Slim and HyperShade.
Oi = Os;
Ci = Oi * Cs * Kfb;
}
will now be correctly displayed and referenced in Maya - figure 1. However, it should be noted that a shader converted to a Slim template will have its arrays elements grouped within a collection - figures 2. Unfortunately, there does not appear to be a way of structuring an appearance slim file so that HyperShade will also display the elements of an array within a collection. |
|
|
|
Label UI-HintWhen generating an appearance or template slim file, Cutter parses the comments associated with each shader parameter. Within each comment the user can embed one or more ui-hints that will control how Cutter writes a slim file. For example, the shader shown below has two parameters with the artist-unfriendly names "Kfb" and "Kfo" - figure 5. surface
labelling_test(float Kfb = 1,
Kfo = 1 )
{
Oi = Os * Kfo;
Ci = Oi * Cs * Kfb;
}
Using the new surface
labelling_test(float Kfb = 1, /* [label "Uniform Brighness"] */
Kfo = 1; /* [label "Uniform Opacity"] */)
{
Oi = Os * Kfo;
Ci = Oi * Cs * Kfb;
}
|
|
|
|
|
Using a surface
labelling_test(
float Kfb = 1, /* [collection "Color & Opacity" label "Uniform Brighness"] */
Kfo = 1; /* [collection "Color & Opacity" label "Uniform Opacity"] */)
{
Oi = Os * Kfo;
Ci = Oi * Cs * Kfb;
}
|
© 2002- Malcolm Kesson. All rights reserved.