Rib
Camera Transformations
|
# disk3.rib
# applying multiple transformations
Display "disk3" "framebuffer" "rgb"
Projection "perspective" "fov" 40
Format 320 240 1
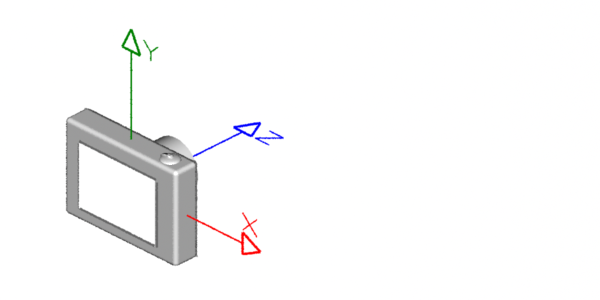
Translate 0 0 3
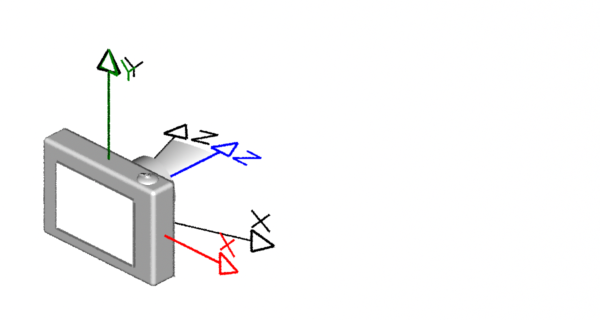
Rotate -40 1 0 0
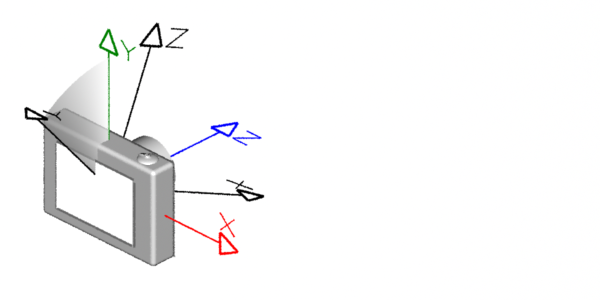
Rotate -20 0 1 0
WorldBegin
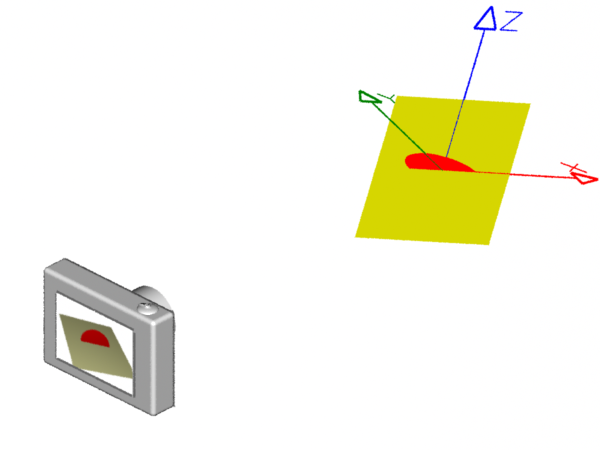
Color 1 1 0.7
Polygon "P" [-0.5 0 -0.5 -0.5 0 0.5 0.5 0 0.5 0.5 0 -0.5]
"st" [0 0 0 1 1 1 1 0]
Color 1 0 0
Disk 0 0.25 360
WorldEnd
|
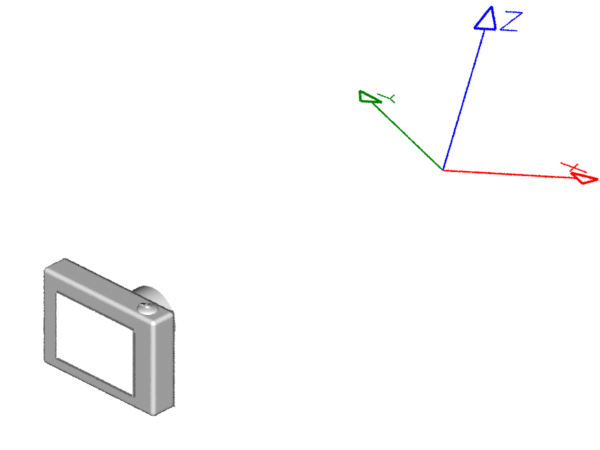
The purpose of this rib file is to show the effect of applying additional transformations
before WorldBegin.
    Translate 0 0 3
    Rotate -40  1 0 0
    Rotate -20  0 1 0
    WorldBegin
These transformations determine how the 3D scene will be viewed by the camera. For
that reason they are know as the view or viewing transformations.
Rib files written
by Maya (requires Pixar's plugin) use a single transformation command,
    ConcatTransform [ 0.707 -0.331 -0.625  0.0
                      0.0    0.884 -0.469  0.0
                     -0.707 -0.331 -0.625  0.0
                      0.0    0.0   44.822  1.0 ]
This statement specifies a transformation matrix of 16 values. Fortunately,
the RenderMan standard provides a more human-friendly way of setting the viewing
transformation.
The Rotate statement has four parameters,
- an angle measured in degrees, followed by
- the xyz coordinates of the axis of rotation.
A good way of understanding the last three values of the command is to
consider the one and zero's to be switches ie.
    Rotate -40    1   0   0
           angle  on  off off
Therefore, this statement specifies a rotation of -40 degrees around the x-axis.
The direction of the rotation, clockwise or anti-clockwise, is explained in
the tutorial
"Rib: Left-hand & Right-hand Coordinate Systems".
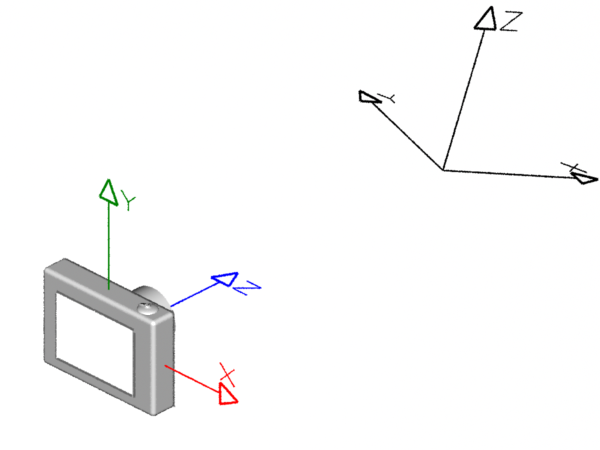
For the moment, the key points to understand about
transformations are that they are,
- applied in reverse order,
- applied to a copy of the current coordinate system,
- applied relative to the the current coordinate system.
|