Executing a Mel Script with Cutter
Cutter can be of assistance in writing and running Mel scripts. The tutorial,
"Cutter: Integration with Mel",
provides a full description of the facilities offered by Cutter in regard to Mel scripting.
The code shown in listing 1 will be used as an example of how to use Cutter with Maya.
Step 1
After launching Maya enter the following command into the Mel text field shown in figure 1.
commandPort -n ":2222";
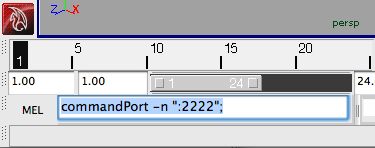
Figure 1
The command can be "executed" by pressing the enter key on the numeric keypad.
The command tells Maya to "listen" on port 2222 for data sent to it by an external application.
Readers who are using the Vista operating system should refer to the notes, "commandPort and
Vista", in the tutorial
Cutter: Integration with Mel.
Step 2
After launching Cutter, described in the tutorial
Cutter: Installation,
copy and paste the text from listing 1 into a new window. Open the network panel
by clicking on the network icon located in the top right hand corner of the window - figure 2.
Ensure the IP fields display the following text,
localhost:2222
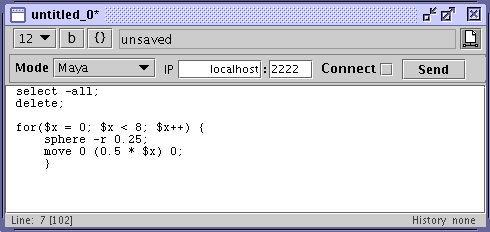
Figure 2
Save the document as listing1.mel - note the .mel file extension. The first Mel
script that is either saved or opened causees Cutter to automatically read documentation
about Maya's library of Mel commands. Command documentation is read only once per session.
A progress window, figure 3, will be displayed for the few seconds it
takes Cutter to read the documentation.
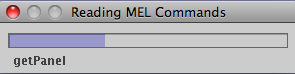
Figure 3
Step 3
Upon clicking the checkbox labeled Connect, refer to figure 2, you should see
an error message displayed in the lower right hand corner of the Maya window - figure 4.
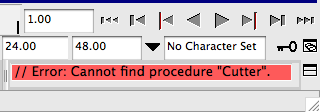
Figure 4
The message is caused by Cutter sending an initial message to Maya. The error
is benign and serves only as a visual confirmation that Cutter and Maya are "connected"
on port 2222.
Unless you are using a computer with dual monitors you will find it helpful to resize
the Cutter and Maya windows so that they "share" the desktop, figure 5.
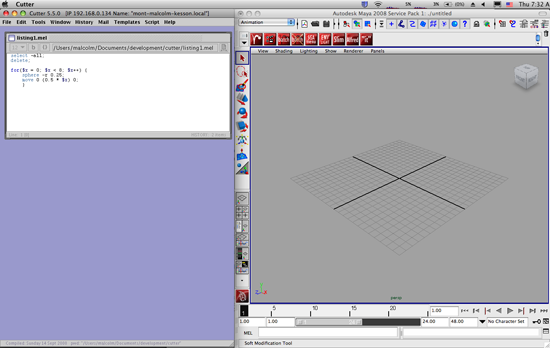
Figure 5
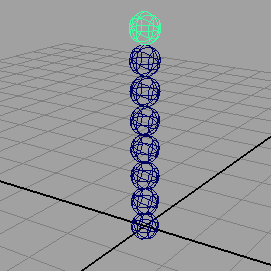
Step 4
You are now ready to run your Mel script directly from Cutter. Hide the network panel
by clicking the network icon. The keyboard short-cuts Alt + e or Control + e can be used
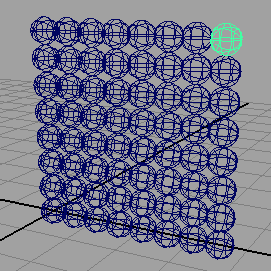
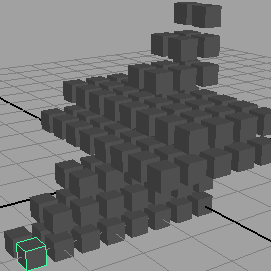
to send the script to Maya via port 2222. In the Maya window you should see the graphics
shown in figure 6.
Listing 1 - grid1d.mel
select -all;
delete;

for($x = 0; $x < 8; $x++) {
    sphere -r 0.25;
    move 0 (0.5 * $x) 0;
    }
|
|
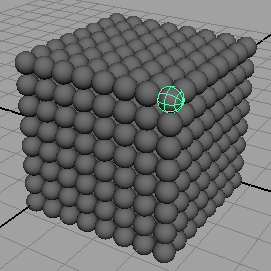
Listing 2 demonstrates how nested loops can be used to produce a 2D array of
spheres..
Listing 2 - grid2d.mel
select -all;
delete;

for($x = 0; $x < 8; $x++) {
    for($y = 0; $y < 8; $y++) {
        sphere -r 0.25;
        move (0.5 * $x) (0.5 * $y) 0;
        }
    }
|
|